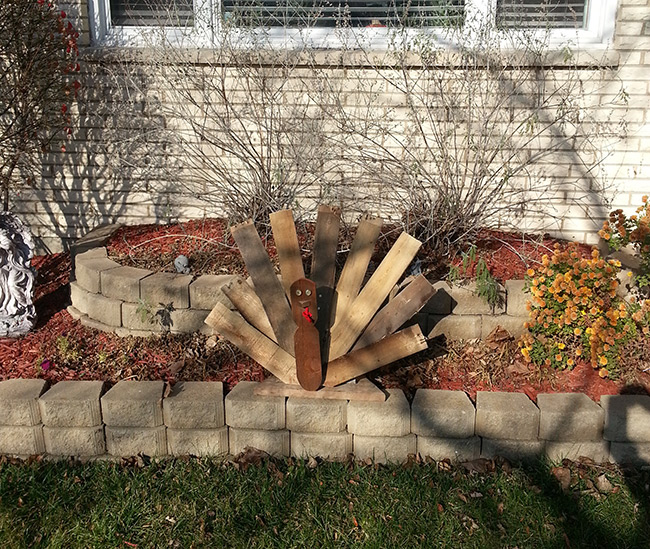
Follow along as Premier Handling Solutions shows you how to make a fun Turkey lawn decoration for this Thanksgiving using an old pallet!
Step 1. Procure an old wood pallet. As you’ll see later, the older and rattier, the better. The mixture of wood colors and wear makes for some great feather patterns!
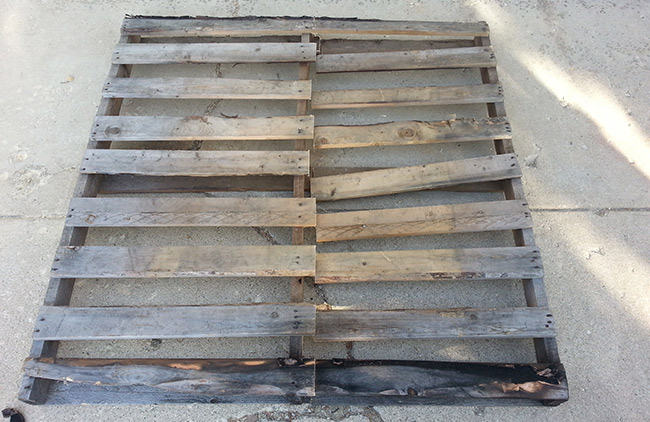
Step 2. Rip that pallet apart!
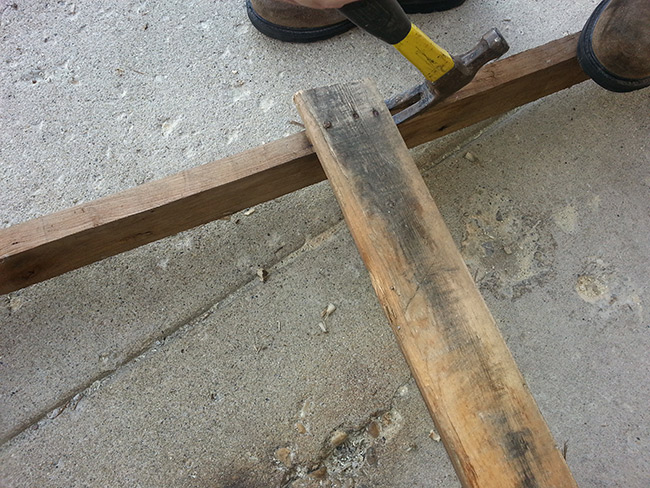
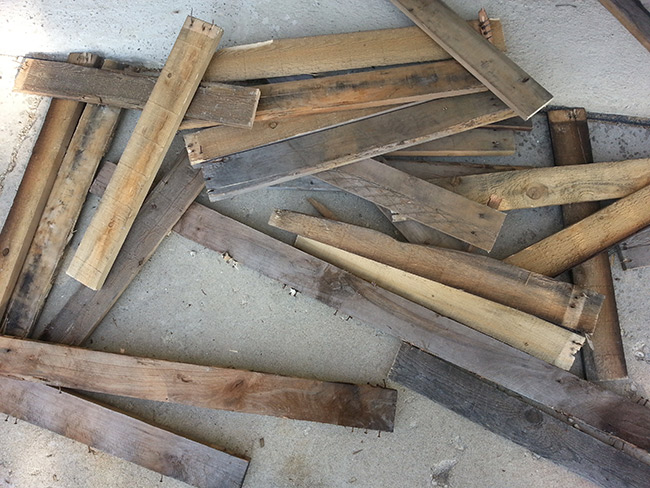
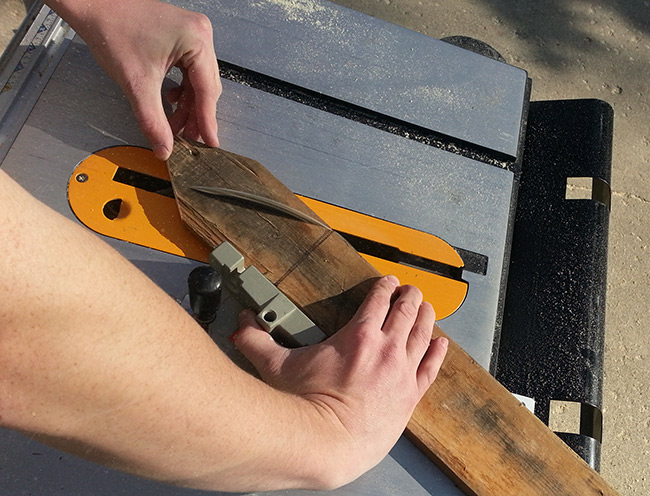
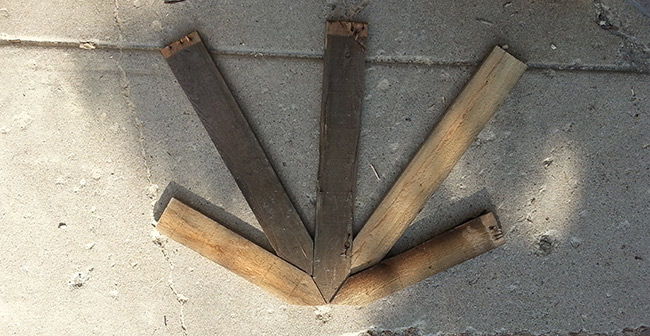
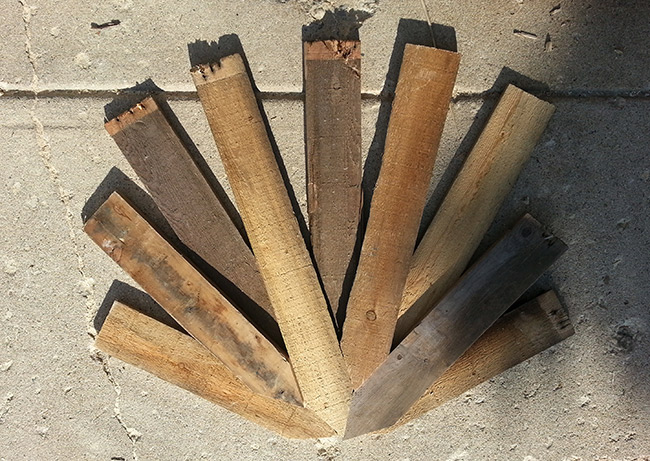
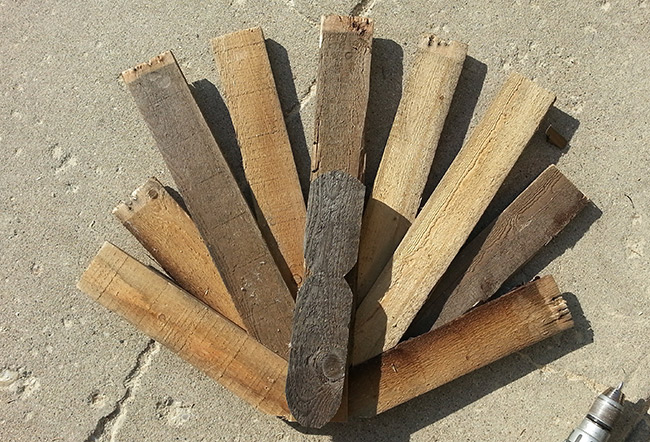
Step 3. Make the “feathers”. We’ll start by making a two layered tussle of tail feathers by cutting each plank of wood from the pallet into pickets like a fence. Cut the wood into 30 degree angles and place the pieces together like a puzzle. The back layer will have five planks of wood and the front layer will have four planks. In the pictures below, you can see how they are arranged.
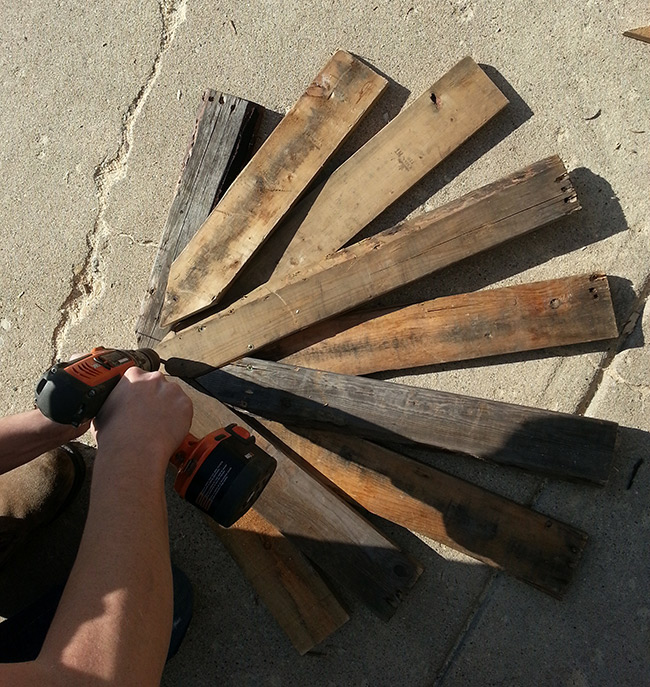
Step 4. Screw all the wood together. It doesn’t have to be elegant. Just screw everything together from the back so that your tail feathers are sturdy.
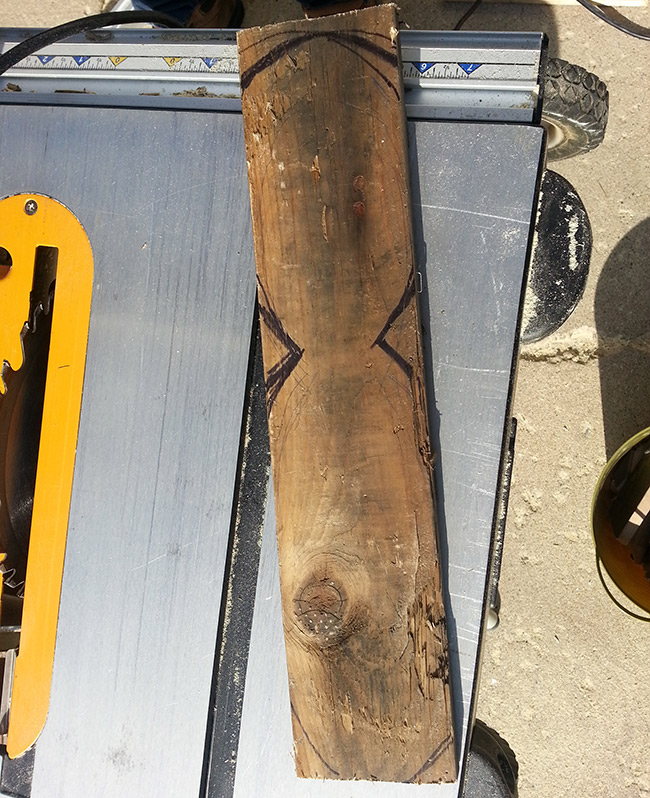
Step 5. Cut out the head and body. Trace out a bowling pin shape into another plank from the pallet and cut it out.
Step 6. Attach the head and body to the tail feathers. You’re going to want a little bit of depth added to the turkey, so place an inch or so of wood between the tail and head and then screw it in.
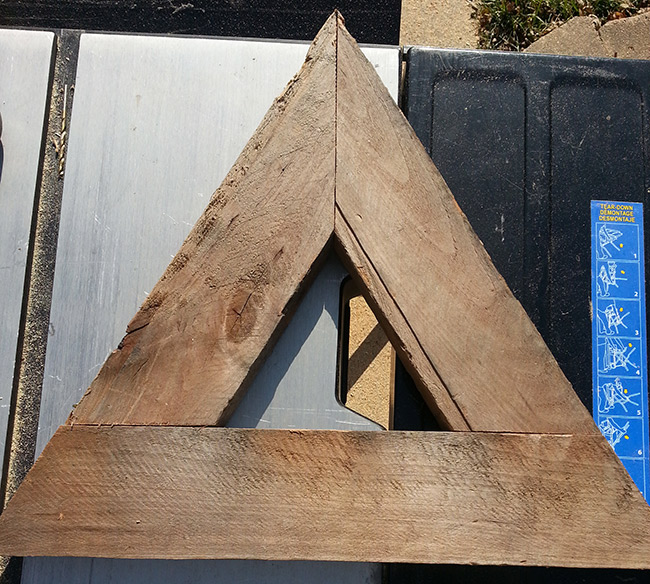
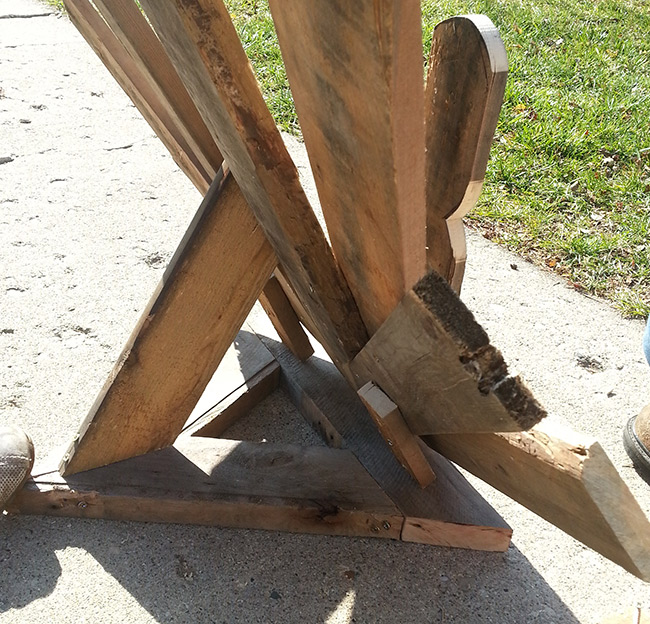
Step 7. Create a support. Make a simple triangular support to hold up the turkey.
Step 8. Paint the turkey’s body and head. We used a dark orange stain to better differentiate the body from the tail and kept the tail as its rustic wood color. We then added a small triangular wooden beak and buttons for eyes. A little bit of braided ribbon forms the wattle.
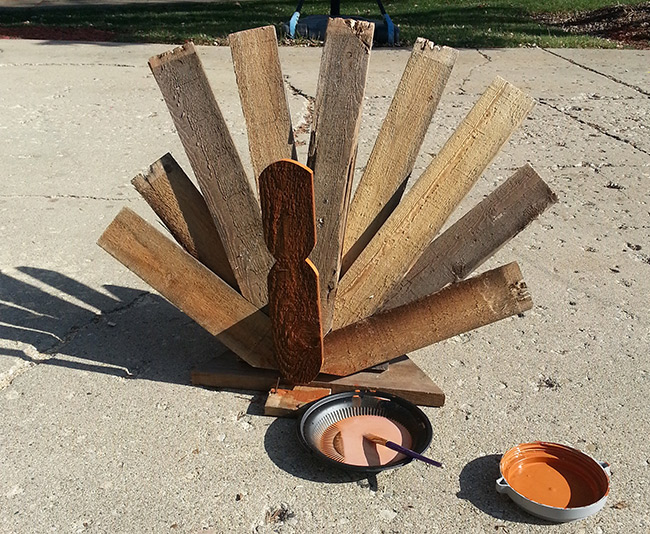
Step 9. Proudly display your turkey!
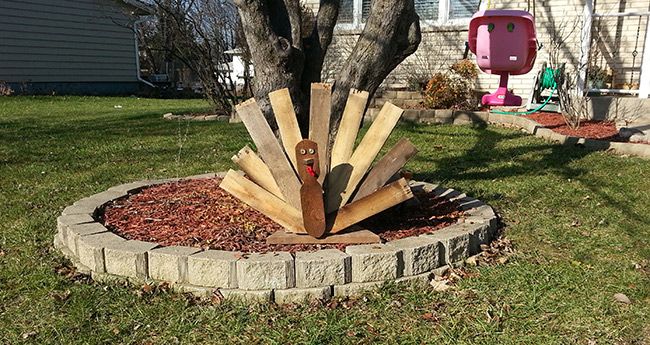
And just remember before you throw them away that you can do some pretty amazing things with wood pallets!
